AllSpark effect editor
Description
In the AllSpark Effect Editor you can create your own effects for all your needs, get creative and make your mod look faaaaaaaantastic!
A good understanding of combining textures, shaders and meshes will get a long way in making amazing effects that will leave people stunned, mesmerized, drooling over there keyboards and above all, to make them believe in what they see.
| More info on importing from 3DsMax and Maya can be found here: My first: 3DsMax/Maya model |
| More info on importing textures can be found here: My first: .dds texture |
| You'll also need some materials to apply to your effects : Material editor |
VERY IMPORTANTOnce you created and saved your effect, you need to compile it !!! Than add the recource in to the Content Browser. More info on how resources work can be found here: Resources explanation |
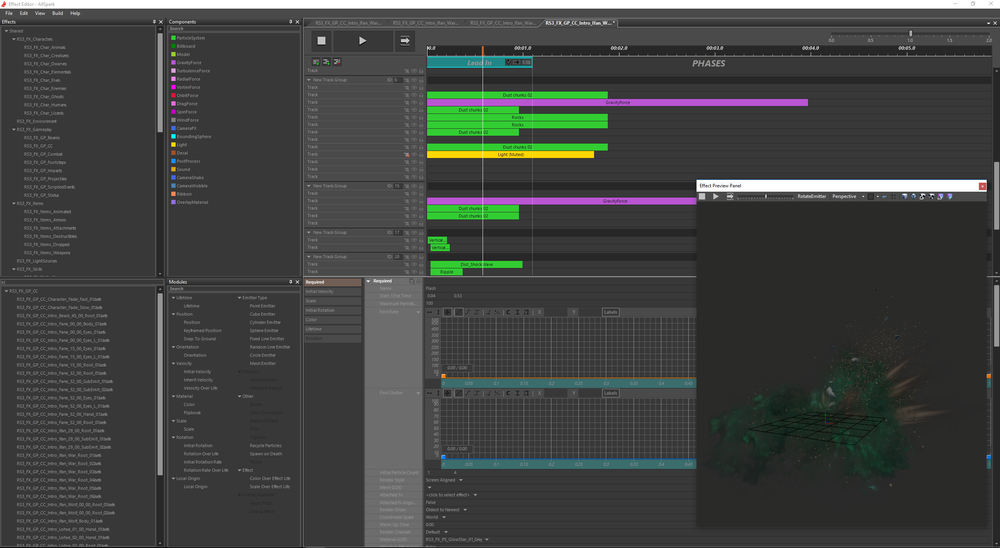
The effect editor is split in 2 windows, the effect previewer and the editor part.
Effect previewer
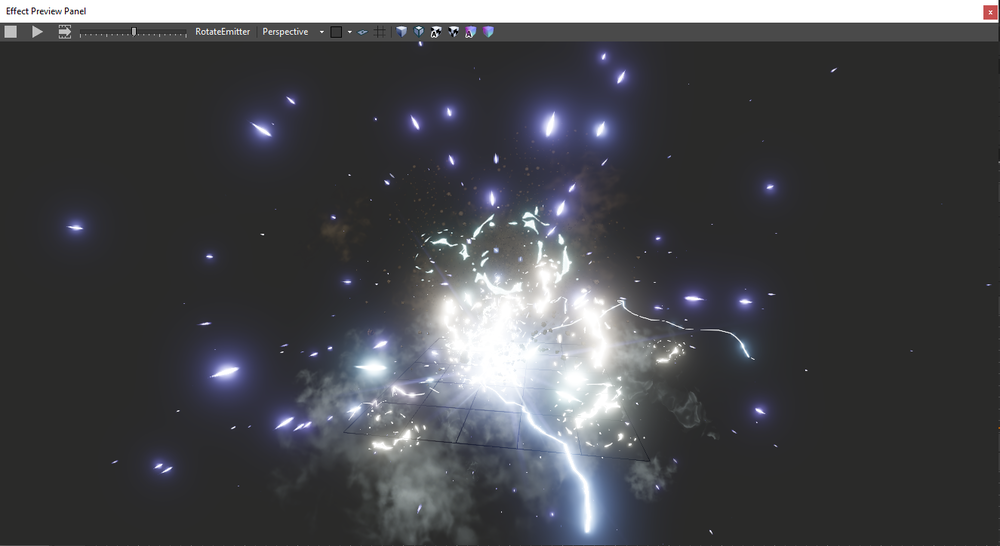
The effect previewer is of course to preview your effects.
If it's not open when starting the editor, you can find it under view in the menu bar (as for any other panel) and activate it.
There are only a few things you can do in this. First and foremost, right click and drag to zoom in and out, left click and drag to rotate so you can view your glorious creation from all angles.
On the effect previewer menu bar you do the following things:
- Stop the effect from playing.
- Play the effect.
- Go to next phase in the effect.
- View port playback speed.
- Rotate emitter, you can also change the speed and radius that it rotates at the bottom of the previewer.
- Changes the view port you look through.
- Background color.
- Reset viewport to default angle and center it.
- Toggle grid.
- 6 different view mode.
Effect editor
Menu bar
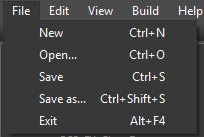
File
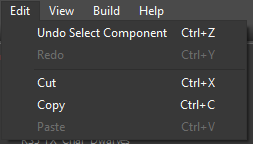
Edit
View
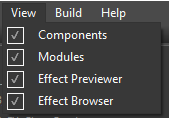
Panels and sub panels you closed can be reactivated from this menu.
Build
|
VERY IMPORTANT, once you created and saved your effect, you need to compile it. |

Compile Effect: builds the effect that you have open in the active tab.
Compile All: rebuilds every effect in your mod.
Help
Good job, you found it!
Panels
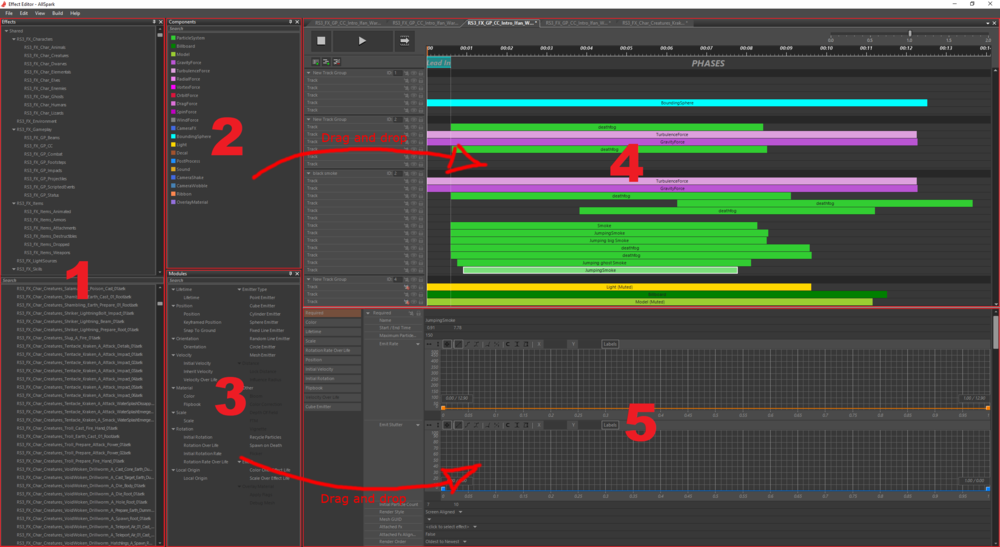
The effect editor is split in different sub panels:
Effects browser
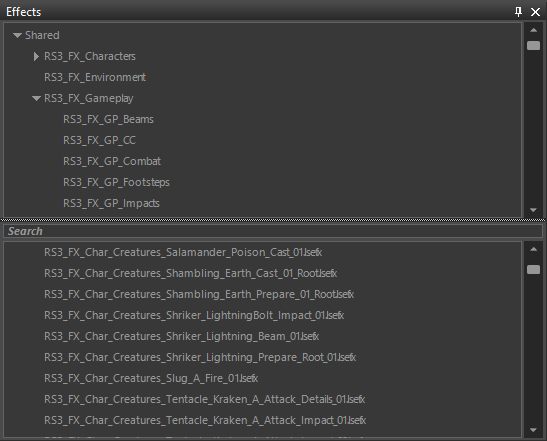
Here you can see and browse through all the folders and sub folders for effects in your mod.
Components
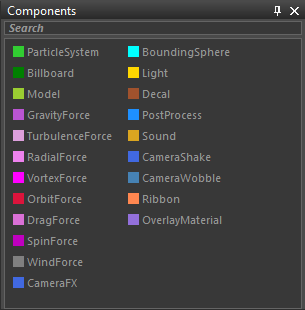
Components can be dragged and dropped on to the component tracks.
You can also add components by right clicking on the tracks and selected them from the right click menu.
- Particle System: is a system that spawns sprites or models
- Billboard: is a square mesh the can be used to display a material
- Model: a 3D model
- Gravity Force: adds a velocity to mimic a gravitational pull on your particles, can be used negative as well (make the particles float up) or sideways
- Turbulence Force: This force adds a velocity to your particles that applies chaotic changes in their flow
- Radial Force: adds a velocity to your particles from an origin point of the force, can be used negative as well (blow them away from that point)
- Vortex Force: Applies a circular/cylindrical velocity to your particles
- Orbit Force: makes your particles orbit on a chosen distance (this one does not work like a usual force, it does not apply a velocity but alters the position of the particle directly)
- Drag Force: drag is the resistance force, it applies a velocity in the opposite direction of the moving object (in this case the particle)
- Spin Force: adds spinning motion on your particles
- Wind Force: a global wind force, it applies a velocity on every particle in the Track group
- CameraFX: Adds a camera shake to your effect
- Bounding Sphere: A sphere that should be about the size of your effect. The moment this sphere enter your active view, your effect is set to 'active'. Inactive effect are not rendered to save performance. If you don't add a bounding sphere, your effect will only be active once its 0,0,0 origin point enter your active view.
- Light: Add a light to your effect. Uses a light of the engine, copy the name and GUID from the root template
- Decal: projects a material from high up on to the ground
- Post Process: Apply an adjustment layer on your screen (bloom, color corrections, depth of field etc.)
- Sound: add sound to your effect
- Camera Shake: outdated We recommend you to use the CameraFX component
- Camera Wobble: outdated We recommend you to use the CameraFX component
- Ribbon: Is a band or string that is best used with moving particles
- Overlay Material: An overlay material applies an other material on your mesh
Modules
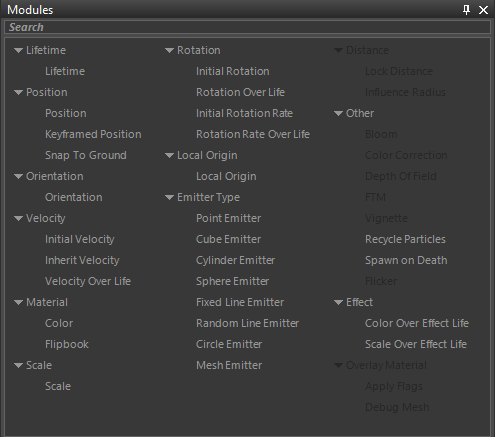
Modules can be dragged and dropped into the modules panel from a selected component.
Incompatible modules will be greyed out for the selected component.
You can also add modules by right clicking in the modules panel and selected them from the right click menu.
Component track Panel
In this panel you have a visual represantation of when what is happening in your effect.
You can see every particle system, force, light or other component you have in your effect on the tracks and you can slide and rescale the components, this makes it very easy to adjust or retime them.
Timeline and Phases
Timeline
The timeline is just a linear representation of the lifetime of the effect, which can be affected by a phase.
Phases
The phases can be looked at as a stage, you can add as many phases as you want in your effect with a minimum time of 0.1 seconds. A new phase can be added by right clicking in the phases bar..
There are 3 different phases, Lead in, Loop and Lead out. You can adjust what every phase does with the buttons on the phase. Let it play once, a certain amount of times or loop it.
Track groups
Use Track groups to split up your effect. A force will only affect the particle systems in the same Track group.
You can add as many Track groups as you want and as many tracks in that Track group as needed.

- Add track group.
- Add track in selected track group.
- Remove selected.
- Mute. This will mute the track or Track group, meaning this track or Track group will not be visible in the effect previewer or in game.
- Show and hide. You can use this to show or hide a track or Track group in the previewer
- Lock. Locks the track or Track group so you can't do anything to it.
Module editor
Tips
- Less is more: Don't over do it, try to find a balance in what your trying to show (big, medium and small particles). A good effect does not cover everything, but supports what is being told or shown by other means, for example animations or sound or even other ways. Think of it as something with it's own little story that has a start, middle and an end.

