General
In this section, you will learn how to create a campaign from scratch.
After loading the game, you will see the menu at the right. To start creating a campaign, click on GAME MASTER.
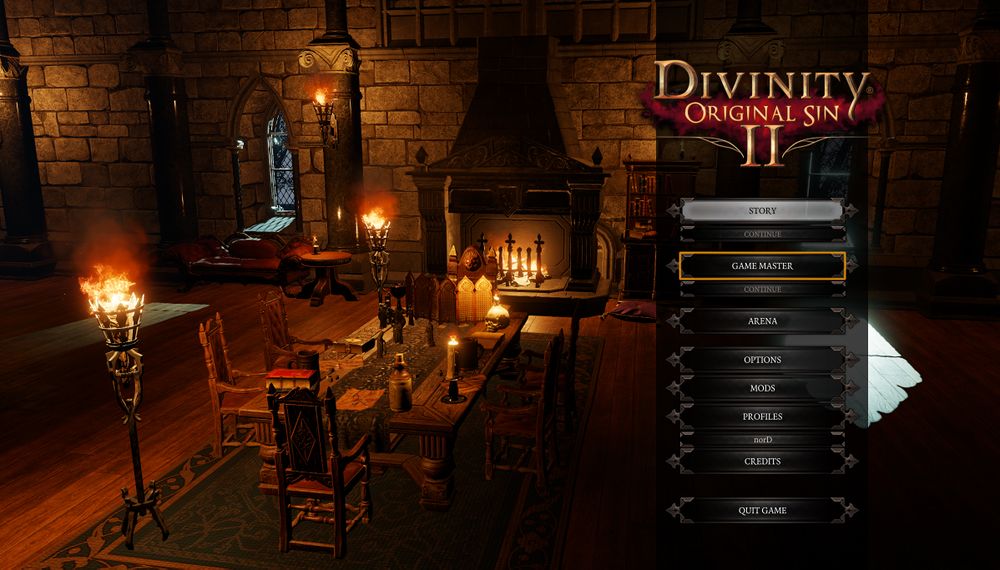
After clicking on the GAME MASTER button, you'll have a few choices
- Prepare Campaign, this is where you'll create your campaign
- Play Campaign, this is where you'll be able to play a campaign
- Load, this will load your last played campaign
- Back, this will send you back to the main menu
|
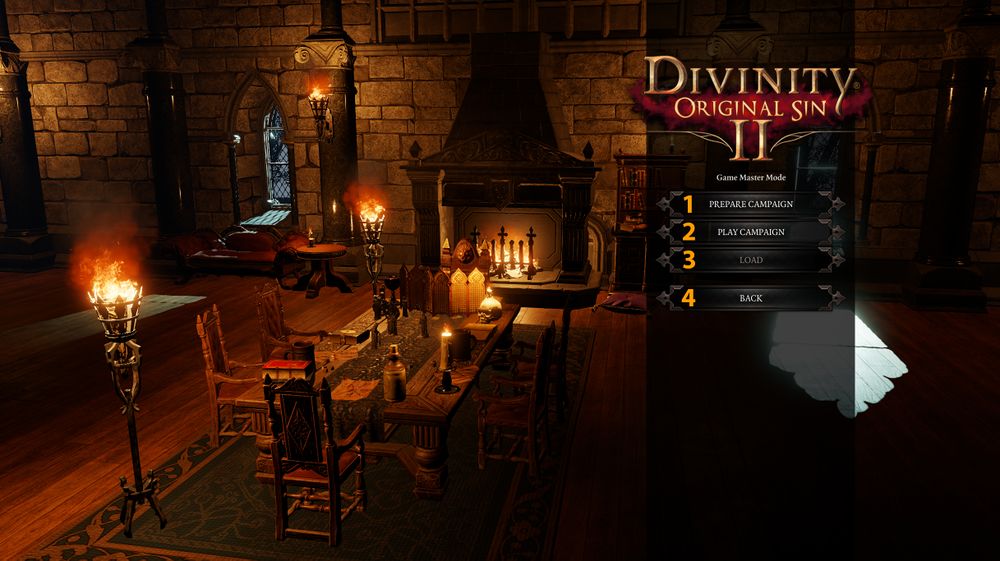
Prepare Campaign
After clicking on Prepare Campaign you will be moved to a screen like this:
- Create New Campaign Button, clicking this will be your first step into campaign creation
- My Campaigns, this is where all your personal campaigns can be selected
- Imported Campaigns, this is where all your imported campaigns from the workshop can be selected
- Overview map, this is the overview map of a selected campaign on the left
- Campaign Name, the name of the campaign selected on the left
- Cmapign Description, the description of the campaign selected on the left
- Delete, this will delete the campaign selected on the left
- Load Campaign, this will load the selected campaign on the left
- Publish, this will publish the selected campaign on the left to the workshop
- Campaign Settings, this is where you can edit the campaign Name and Description of the one selected on the left
- Back, this will send you back to the previous Game Master Menu
|
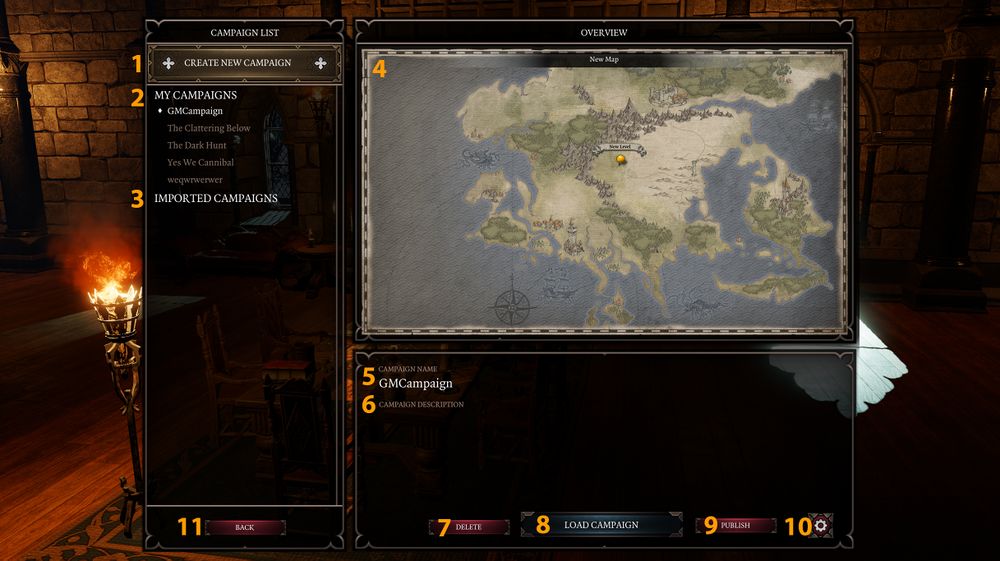
Play Campaign
After clicking Play Campaign, you'll be moved to a screen like this:
- Main Menu, this will bring you back to the main menu of the game
- Online/Lan, this is where you can see online or LAN games
- Refresh Button, click on this to refresh the list of available games
- Game List, this is where you'll see all available games
- Filter, this is where you can set filters for the games you are looking at
- Global Chat, this is where everyone in the world can chat
- Chat Area, this is where you can write things
- Create, this is where you click to create a new Game Master game
- Direct Connect, this is where you can connect directly to someone's game
- Connect, this is where you click to join a game after selecting one
|
After clicking on Create, you'll be moved to a screen like this:
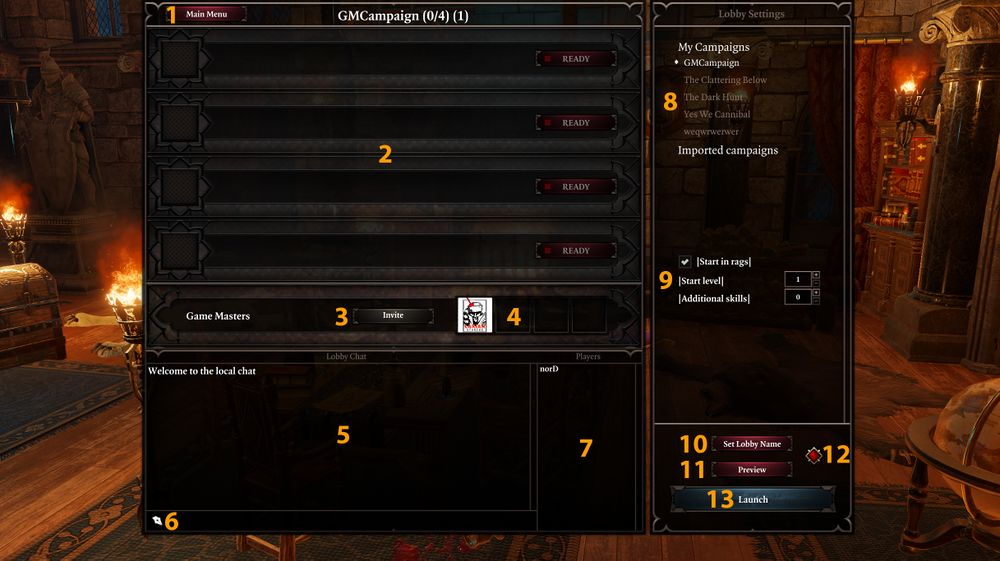
- Main Menu, this will bring you back to the main menu of the game
- Player Slots, this is where players will be waiting for the game to start
- Game Master Area, this is where the GM can invite his friends to the game
- ----
- Local Chat, this is where the everybody in the lobby can chat
- Chat Area, this is where you can write things
- Player list, list of the players in the game
- Campaign Selection, this is where you can select a campaign from yours or imported ones
- Custom Settings, this is where you can set custom settings for the party when they will start the game
- Set Lobby Name, will change the name of the Lobby to the name of your selected campaign
- Preview, will switch the Lobby to the Preview windows
- Connectivity, this is where you can change the connectivity options of your game
- Launch, this is where you click to start the game when all players are ready
|
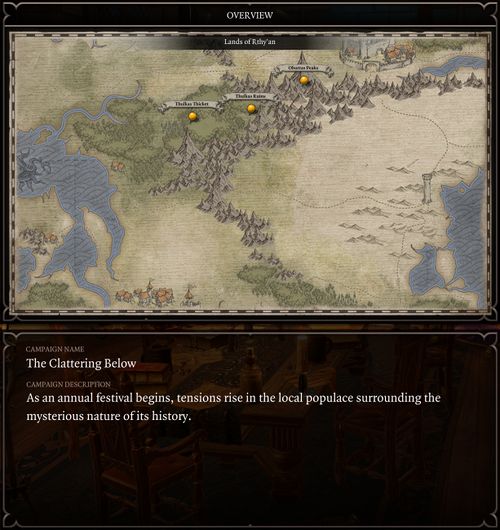
Lobby Preview
This is how the lobby preview screen should look
Connectivity
After clicking on the connectivity button, you should have a pop-up windows looking like this:
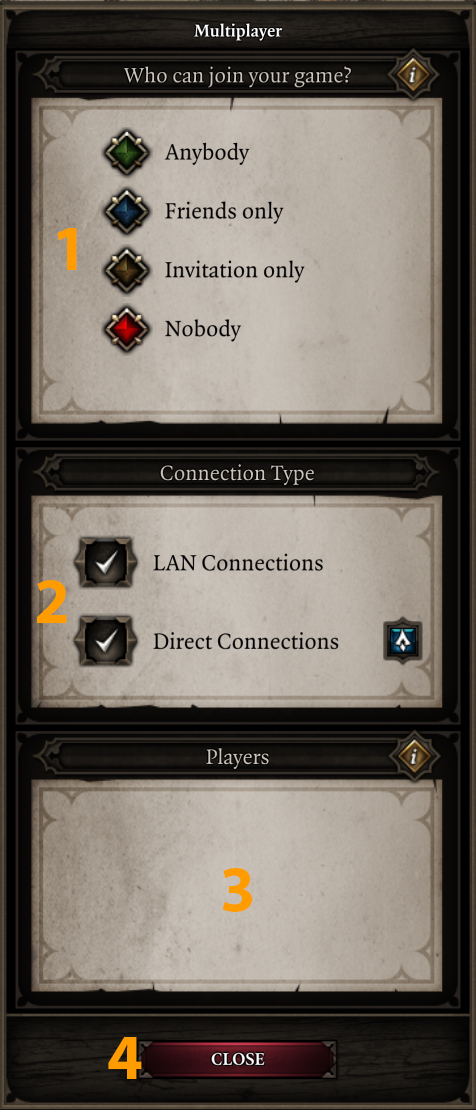
- Filters, this is where you can click on one of the colored gem to choose who can join your game
- Connection Type, there you can choose the type of connection, clicking the small blue arrow will copy the address to your clipboard
- Players, this is where you'll see the player in your games and also be able to kick them
- Close, will close the window
|
Create Campaign
After clicking the big Create Campaign button you will see this:
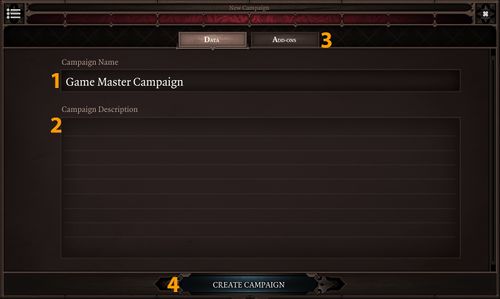
- Campaign Name, this is where you put the name of your campaign
- Campaign Description, this is where you write the synopsis or the description of your campaign
- Add-Ons, this is where you can select add-ons to be added to your campaign
- Create Campaign, will create the campaign and will move you to the Overview map
|


