Part 3: shaping your terrain
This article is part of a series on how to create and edit a terrain.
| Part 1: creating a terrain object |
| Part 2: resizing a terrain object |
| Part 3: shaping your terrain |
| Part 4: painting your terrain |
This article describes how to shape your terrain.
Description
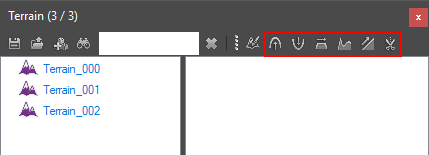
The terrain sculpting interaction modes on the terrain panel
The following tools allow you to sculpt your terrain:
 Raise
Raise
- Raise terrain height
 Lower
Lower
- Lower terrain height
 Flatten
- Flatten terrain height
 Smooth
- Smooth terrain
 Slope
Slope
- Create a slope on the terrain from point A to B
 Cut
Cut
- Cut 1x1 meter cells out of the terrain
In this guide I will be using the raise, flatten, smooth and lower interaction modes to sculpt the 64x64 meter terrain we created in part 2 of this series.
Shaping your terrain
Step 1: raising
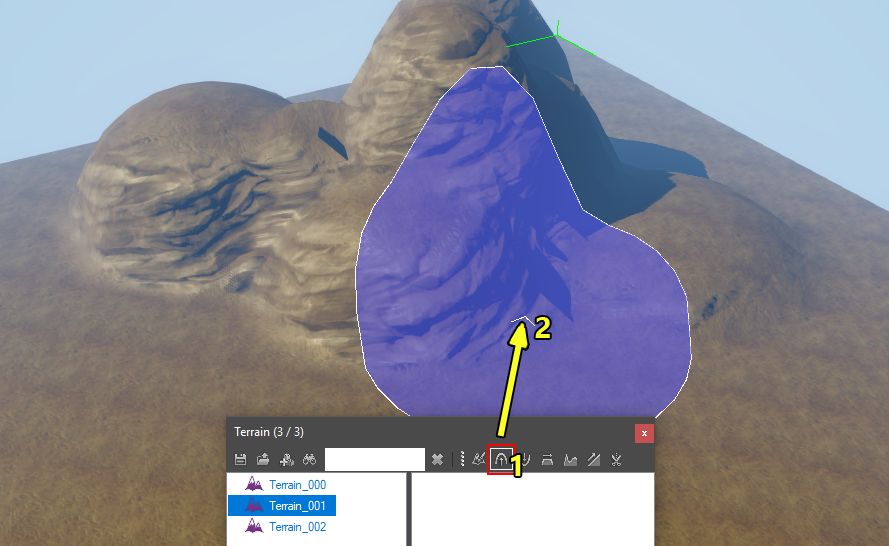
Using the terrain raise interaction mode
First, I will use the terrain raise interaction mode to create some basic height levels on my terrain. To do this, select the terrain raise interaction mode (1), hover your mouse over the terrain and hold the left mouse button (2).
Step 2: flattening
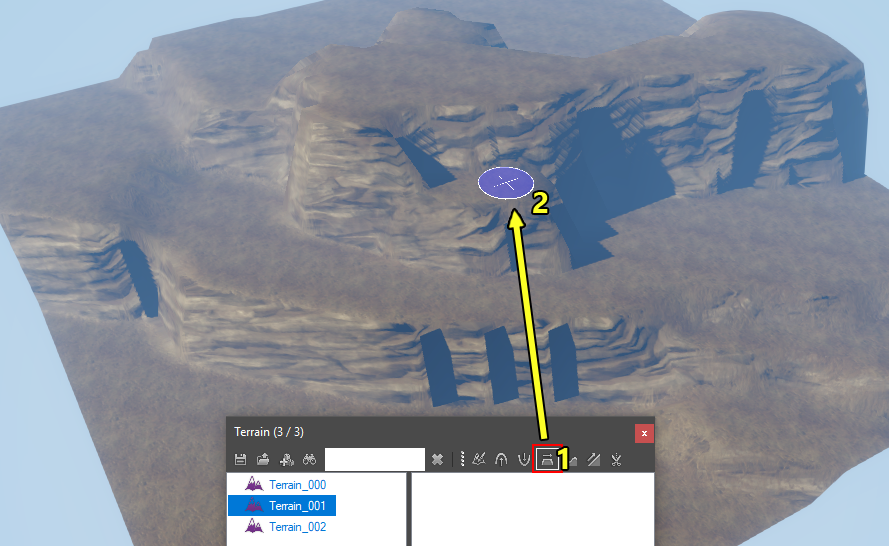
Using the terrain flatten interaction mode
Next, I flattened some areas of the terrain with the terrain flatten interaction mode. Flattening the terrain will set the height of the terrain within the brush to the height at the center of the brush. To use the flatten interaction mode, first toggle the interaction mode (1), then hover over the terrain you want to flatten and hold the left mouse button (2).
Step 3: smoothing
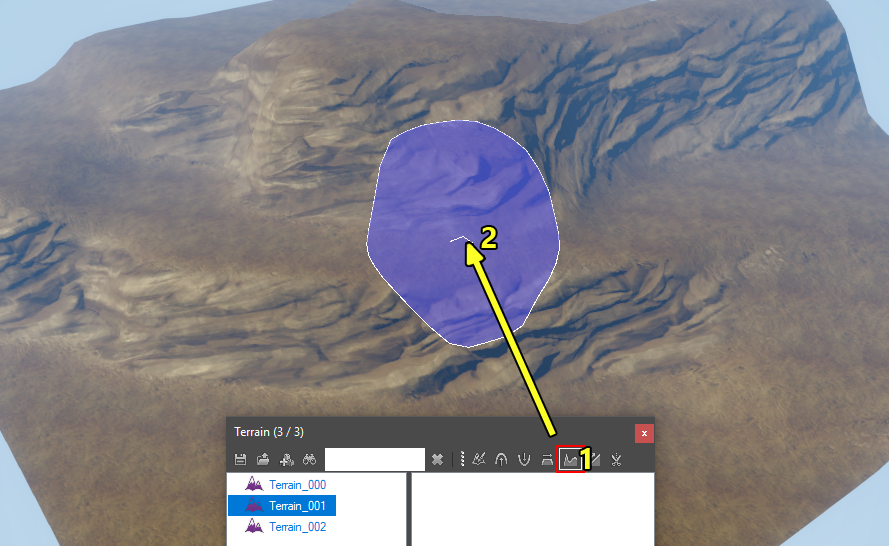
Using the terrain smooth interaction mode
Step 4: lowering
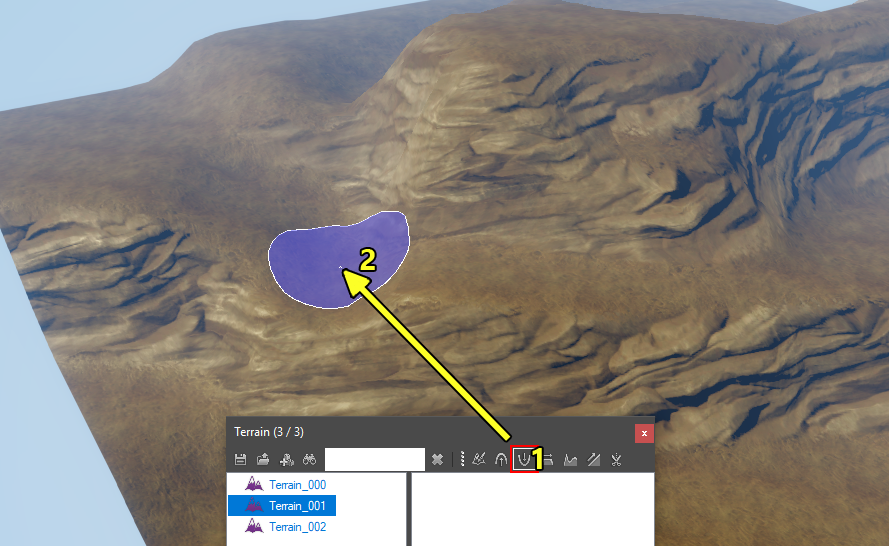
Using the terrain lower interaction mode