My first: Custom portrait
Contents
Description
The icons for characters in Divinity: Original Sin 2 are rendered by the portrait renderer, in the editor. Although fully automatic, the portrait renderer requires some setting up to know which portraits to render.
This article will not be going over creating a new character root template. If you do not yet know how to create a character root template, I recommend you read My first: Character first.
Rendering a character portrait
Step 1: the photobooth level
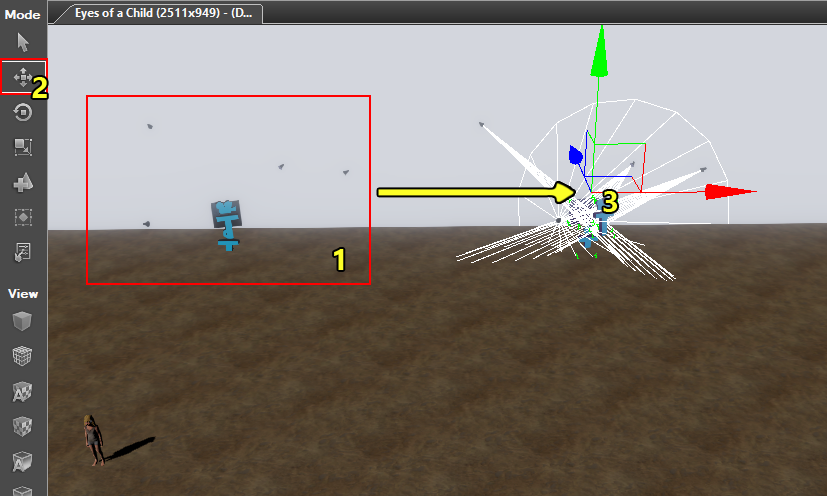
In order to render character portraits, we will need a photobooth level. The photobooth level is a level that contains photobooths for each character for which an icon is rendered. Each photobooth consists of a background plane, lights, a point trigger and a spectator trigger. The spectator trigger is the camera from which the icon will be rendered.
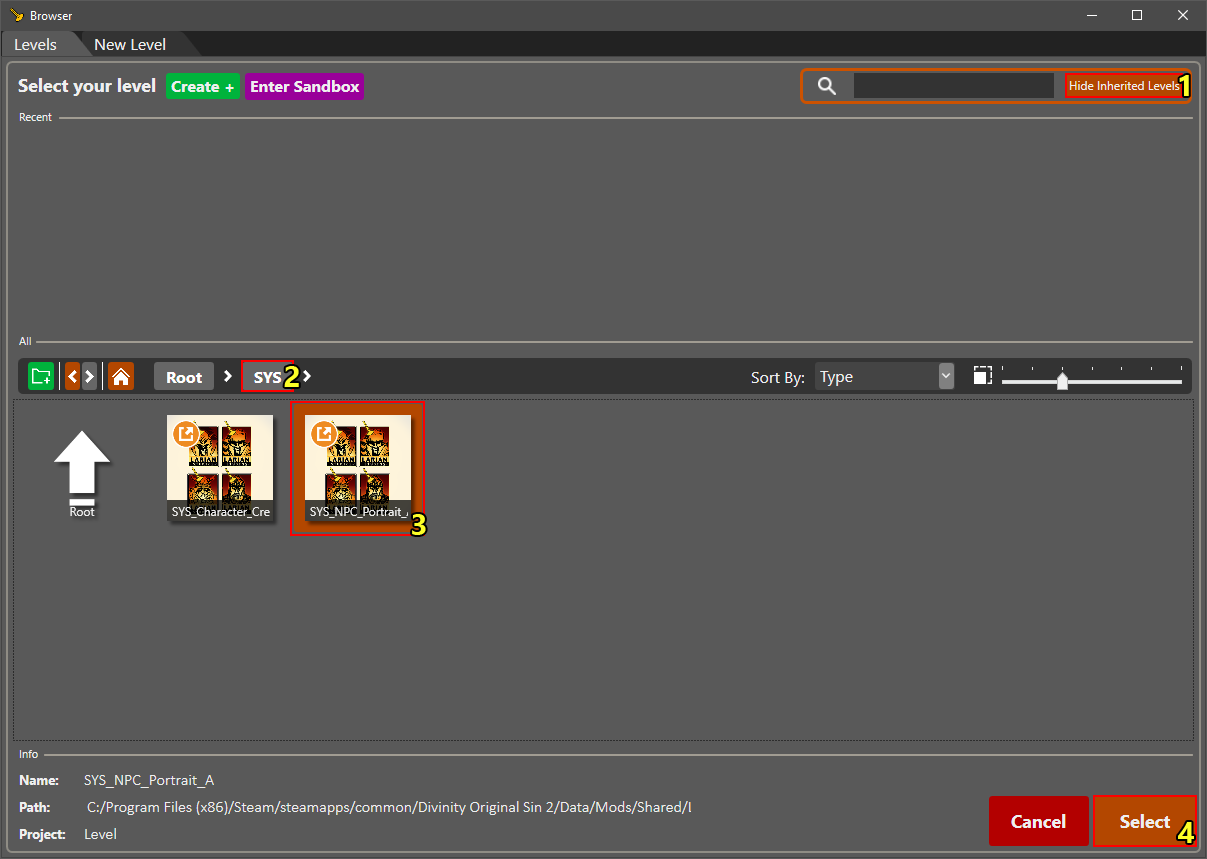
First, we will open the SYS_NPC_Portrait_A level, which is inherited from the Shared project. We could create a photobooth level from scratch, but using an existing one is easier because it allows us to copy an existing photobooth.
Opening the SYS_NPC_Portrait_A level
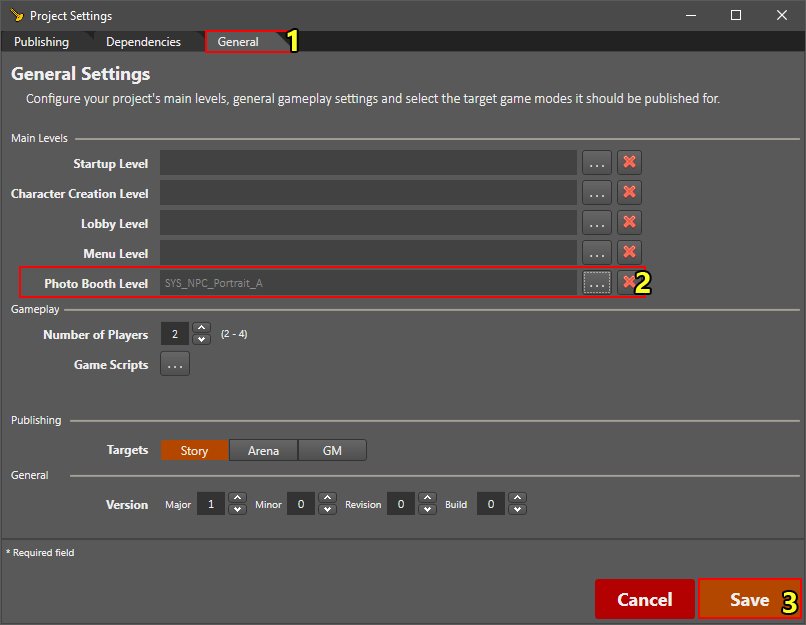
Setting the photobooth level for this project
Step 2: setting up the photobooth
Step 3: rendering
Notes
Portraits that exist in inherited projects will not be re-rendered, making it impossible to render icons for existing templates. However, it is possible to create a new photobooth with a copy of the root template you wish to modify, render the icon for that template, and then assign the rendered icon to the original template.


