Subregion UI Notifications
Contents
Description
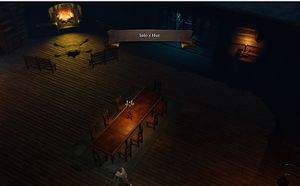
Sub-regions can be used to provide some extra polish and regional distinction within a level by displaying a ribbon UI with its name to the screen. For example in Origins:
Procedure
Adding sub-region UI notifications to your level is a three step process:
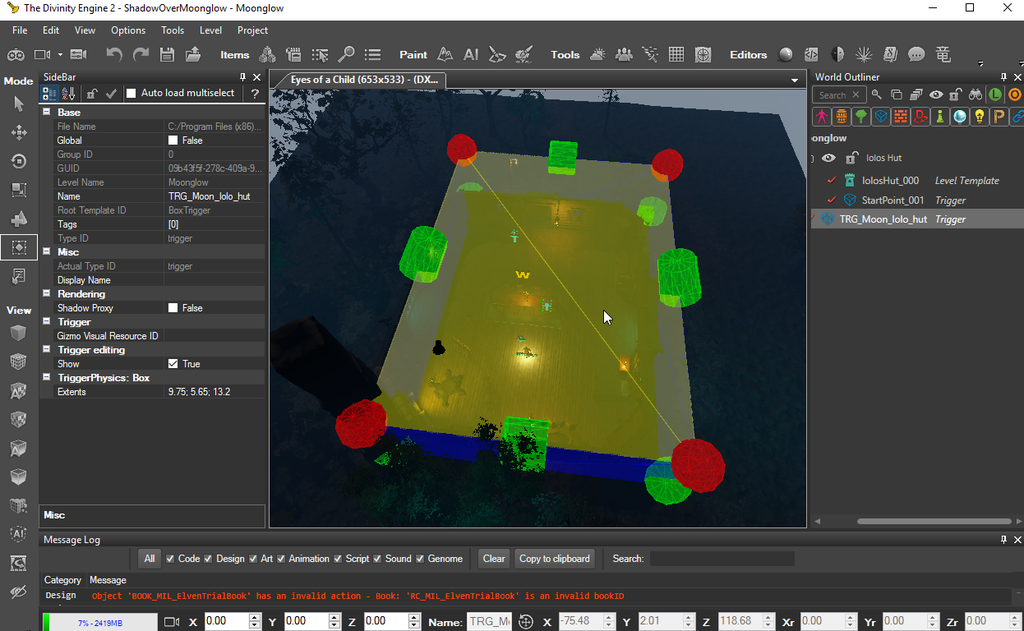
1. Create a Trigger to Define the Sub-region
You can choose a simple box trigger or poly trigger to define the boundaries. Anytime a character enters the trigger, the sub-region ribbon text will get displayed. It will be helpful to give it a unique name that you can easily identify.
2. Define a DB_Subregion in a Story Goal
Larian have provided a simple interface to identify a sub-region using the DB_Subregion() database procedure defined in the _GLOBAL_Subregions goal.
DB_Subregion((TRIGGERGUID)_Trigger,(STRING)_,(INTEGER)_)
The first argument is the GUID of the trigger you created in step 1 above. The second argument is a string value that represents a key into a Translated String Key Editor entry where the actual display name of the sub-region will be defined.
Example based on the trigger created in step 1 above:
DB_Subregion(TRIGGERGUID_TRG_Moon_Iolo_hut_09b43f5f-278c-409a-9aaa-bf31b7364538, "LVL_SUB_IOLOS_HUT", 0);
NOTE: Regarding where to add these story calls, please become acquainted with Osiris Dependencies to make sure that the _GLOBAL_Subregions goal has initialized prior to the execution of this frame.
3. Create the Corresponding Translated String Key Entry
Now that your story captures the event when a character enters a trigger, it will look for an entry in the Translated String Key table with the matching 'Key' field and display whatever is found in the 'Description' field.
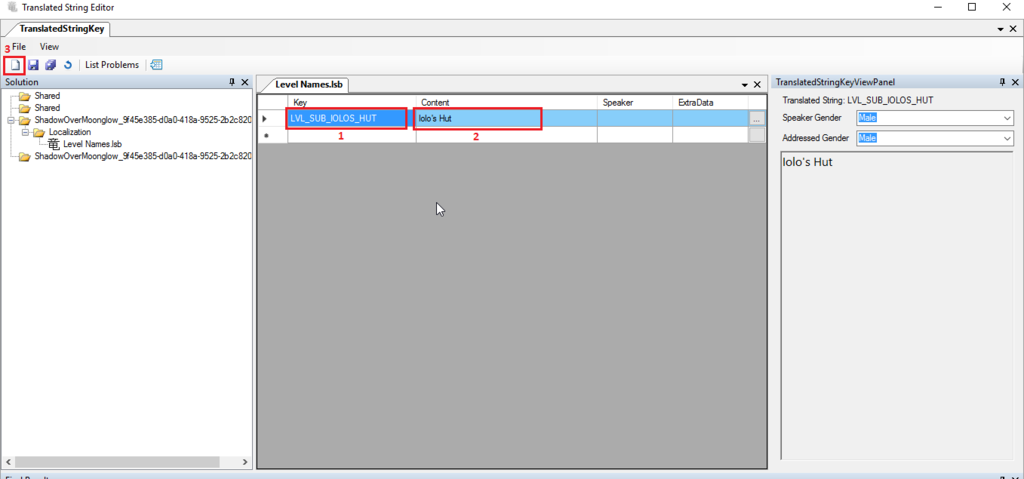
In our example, when a player enters the trigger we want a sub-region that displays "Iolo's Hut". Given the trigger we defined in step 1 and the sub-region we created in step 2, our table entry would appear as follows:
| [1] Key | LVL_SUB_IOLOS_HUT |
| [2] Description | Iolo's Hut |
Note: If this is the first Translated String key entry you have needed for your mod, you made need to create a table using the create button [3] highlighted in the image above.
Once you have created and saved the entry, you will need to restart your project to see the results (and perhaps even the editor?).


