Working with levels
Contents
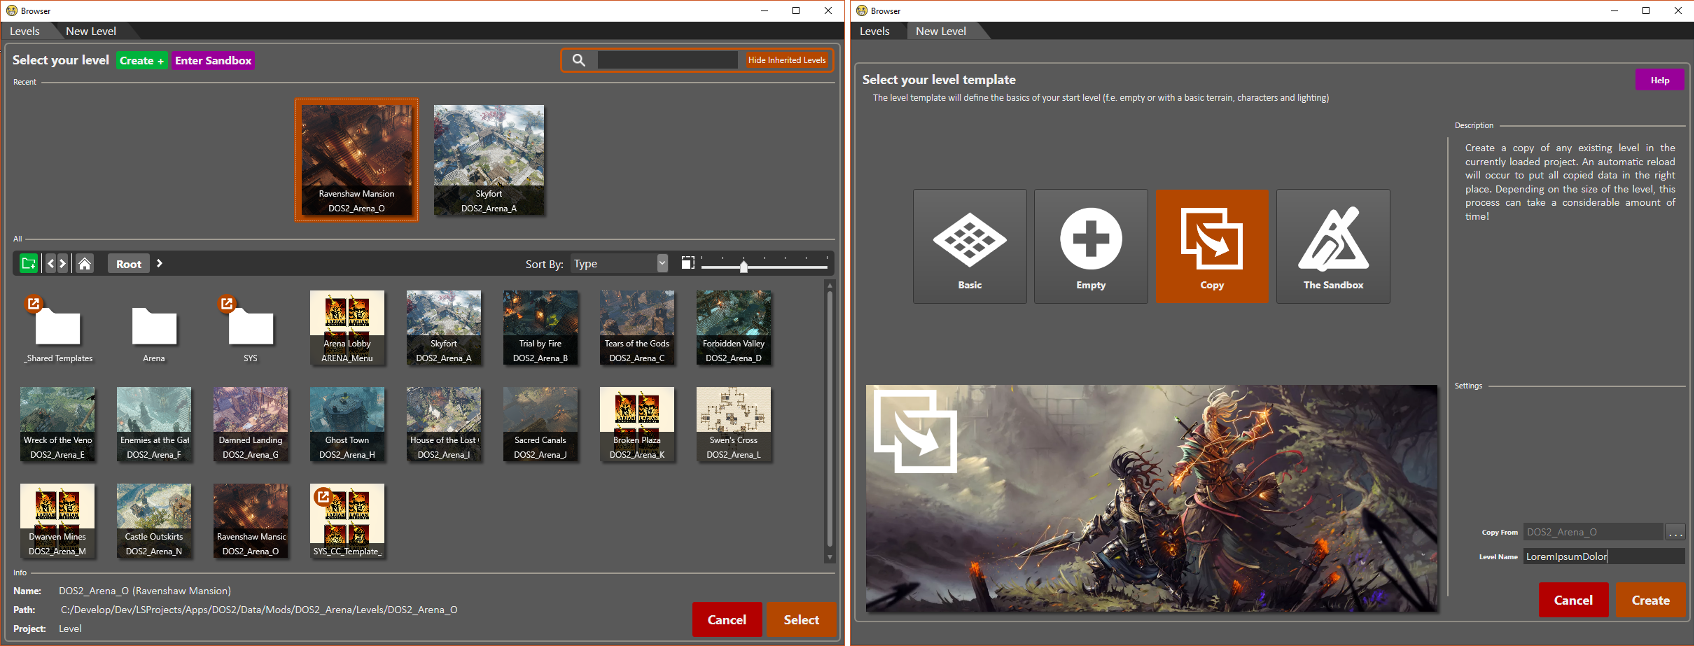
Levels and the Level Browser
Everything you create/change in the editor is stored in projects.
To be able to share a mod with the world, you have to create and share an editor project you make for that mod.
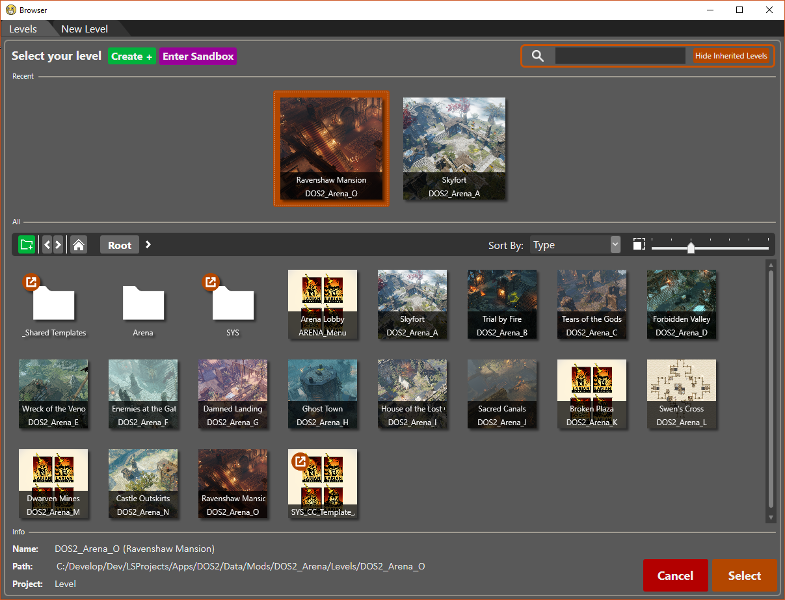
The level browser is used for loading and creating levels.
Here you can see all existing level, as well as the different level templates you can create.
The browser will show automatically when a project is loaded.
You are not obliged to create a level. You might only want to make story changes, but it might still be useful to have a level for testing things in.
Afterwards, you can change levels by creating or loading a different one, as explained in sections Creating a Level and Loading a Level.
| An explanation on the different buttons and functionalities of the level browser can be found here: Level browser |
Creating a Level
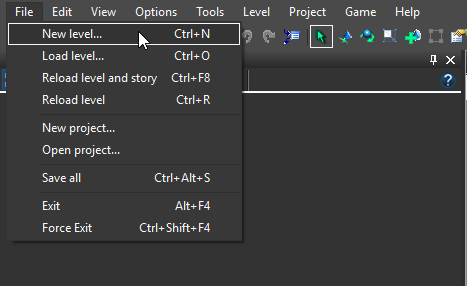
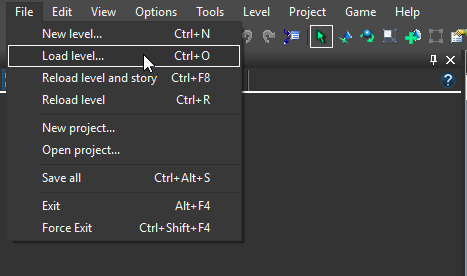
Entering the new project browser via the editor File window.
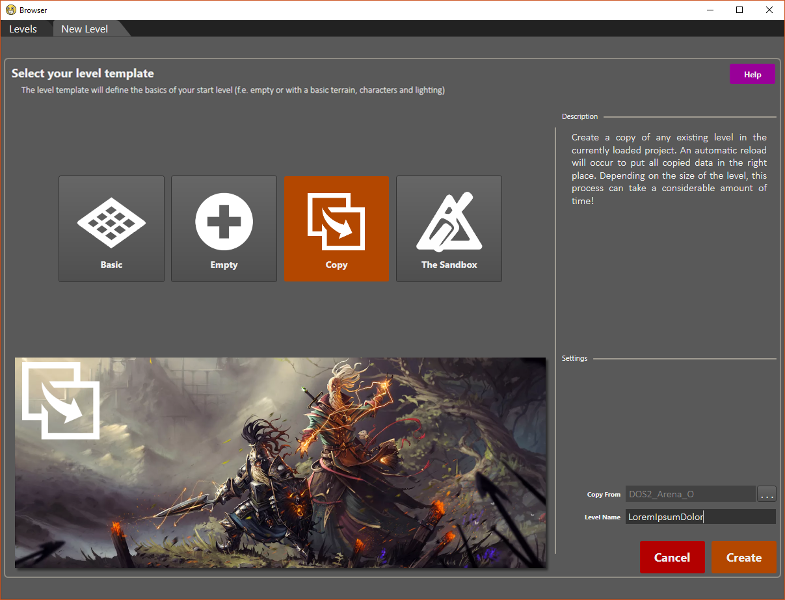
When creating a level, there are two things you have to choose: the level template and start-up settings.
Level Template: Start from nothing or start with something?
The following templates are available when creating a level:
Start from a blank canvas that is already playable.
The Basic template already has a simple terrain, start points, a minimap,... so you can jump straight into game mode.
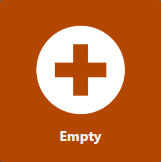
Picking this will create a completely empty level.
You will have to setup a terrain, start points for characters,... to make the level playable.
Picking this will give you the extra settings option "Copy From".
Here you select an already existing level as your template. When you create your level, it will be an exact copy of the level you selected in the "Copy From" option.
The Sandbox is an already existing level.
When selecting this, you will not create a new level, but load The Sandbox.
In this level, no level changes are saved.
The Sandbox is a full level, with a bit of everything ranging from friendly characters for talking to enemies for fighting.
Use this when you want to test things out without having to create a level yourself.
| For more info on The Sandbox, go here: Sandbox |
Level Settings
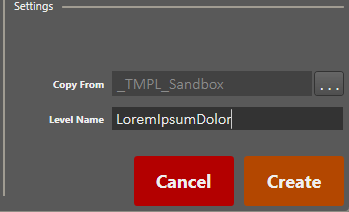
The available settings before creating your level.
Generally, the only thing to setup before creating your level is the level name.
This is only the name used in the editor and in your data files. You can use the editor's translated string key editor to alter the name in game.
Only when selecting the "Copy" template, will you have an extra "Copy From" option visible here.
Press the ![]() button to open a second level browser to select a level to copy from. Your created level will then be an exact copy of the level you selected here.
button to open a second level browser to select a level to copy from. Your created level will then be an exact copy of the level you selected here.
| More info on the translated string key editor can be found here: Translated string key editor |
Loading a Level
Entering the existing levels browser via the editor File window.
To load a level, simply open the browser and select the level you wish to load.
To start loading, double-click the thumbnail, press the enter key, or press the Select button in the bottom-right corner of the browser.
Adding a custom level thumbnail
The level thumbnail is either a custom thumbnail, the worldmap (generated by the Worldmap renderer), or the default image if neither exists.
There are two options for setting a custom thumbnail:
- Level > Snap Thumbnail
- Automatically creates a 512x512 thumbnail from your current view
- Level > Select Thumbnail...
- To select an image from disk
The custom thumbnail is located in your editor's data folder under: "Data/Mods/YourModName/Levels/YourLevelName/thumbnail.*".
Adding a custom level template
It is possible to define a level as a template.
The editor browser automatically loads templates next to the other options in the "New" tab when Creating a level.
In terms of steps, do the following:
- Go to the editor data folder of the level (Data/Editor/Mods/YourMod/Levels/YourLevel) and look for the following attribute line in EditorMetaData.lsx:
- <attribute id="IsTemplate" value="0" type="19" />
- Make sure the value is set to "1" instead of "0"
- Customize how your level is shown in the browser by adding thumbnails in the Data folder of the level (Data/Mods/YourMod/Levels/YourLevel)
- Custom banner (bottom image): "banner.png"
- Custom thumbnail (button image): "templateThumbnail.png"
