NPC Patrols
Contents
Overview
This page will guide you through the process of implementing basic NPC pathing and patrols using splines. It's assumed that you know how to do things such as creating a level and using the Root Template Panel. It's recommended you get a feel for the engine by looking through some pages in the Getting Started section.
Creating the Static NPC
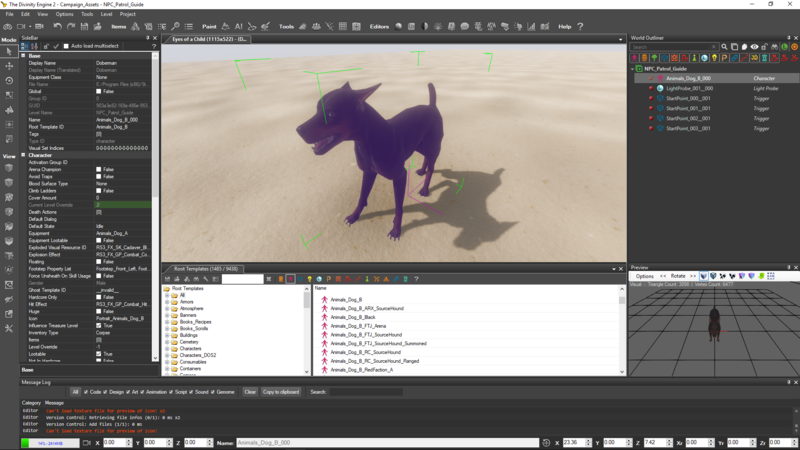
To get started, place a character on your level using a character root template. For this tutorial, I've made a dog.
Select your character and edit it however you like. We'll come back to it a bit later.
Creating the Patrol Route
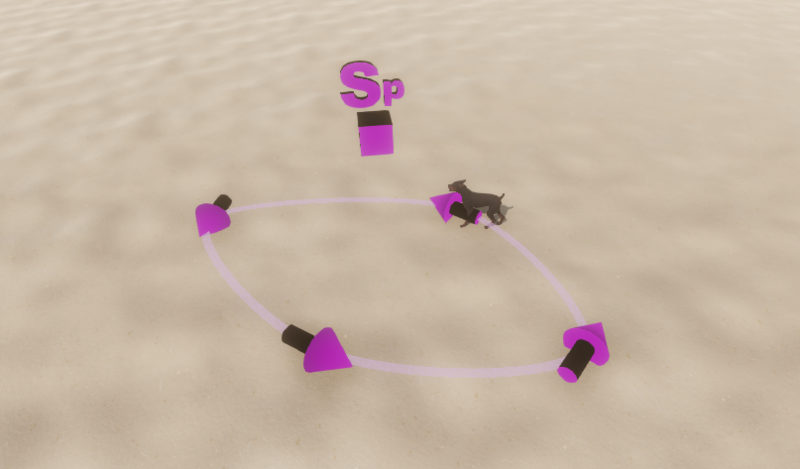
In the Root Templates, right-click the Spline section and add a Spline to the level.
Select it and you will have a new tool on the left.
Select the tool, click the spline, and click the point that you want the patrol to begin. Continue adding points to make the patrol route. (You'll be able to make your NPC pause at each of these points if you wish, so keep that in mind when placing them.)
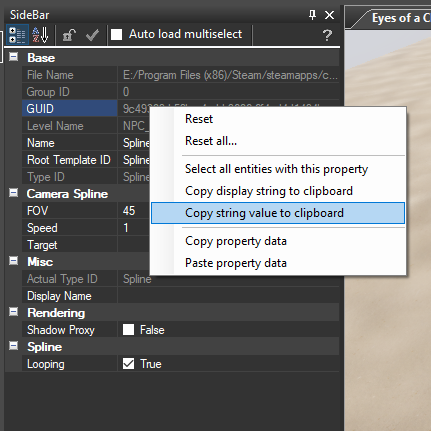
When you're done, select the spline once more and copy the GUID value.
Adding the Patrol Script to Your NPC
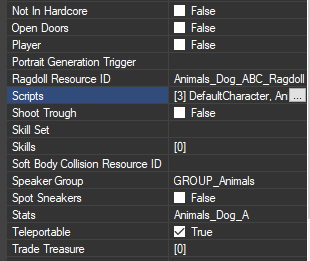
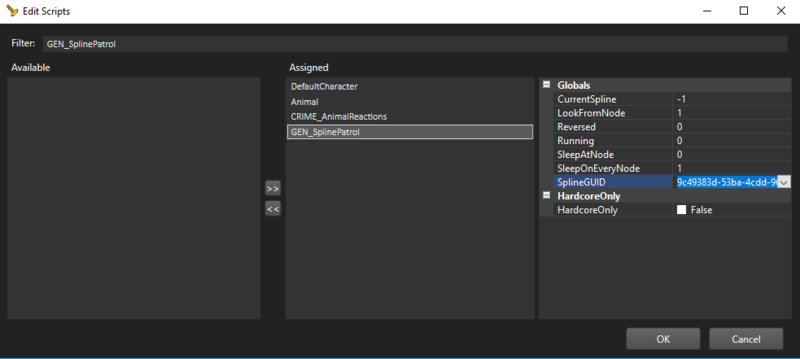
The Divinity Engine 2 comes with quite a few premade scripts you can add to your characters and items. Select your NPC and find the scripts option in the sidebar under the Character section. It should look something like this:
Open it and find GEN_SplinePatrol. Assign it to the NPC using the arrows in the middle. Select it and change the SplineGUID to the value we copied earlier. SleepAtNode and SleepOnEveryNode can be used to make the NPC pause along the patrol route.
Click "Ok" and playtest the level. The NPC will follow the route of the spline.
