Working with levels: Difference between revisions
| Line 18: | Line 18: | ||
</div> | </div> | ||
<div> | <div> | ||
[[File: | [[File:Levelbrowser-new.png|800px]] | ||
</div> | </div> | ||
<br /> | <br /> | ||
Revision as of 13:37, 2 August 2017
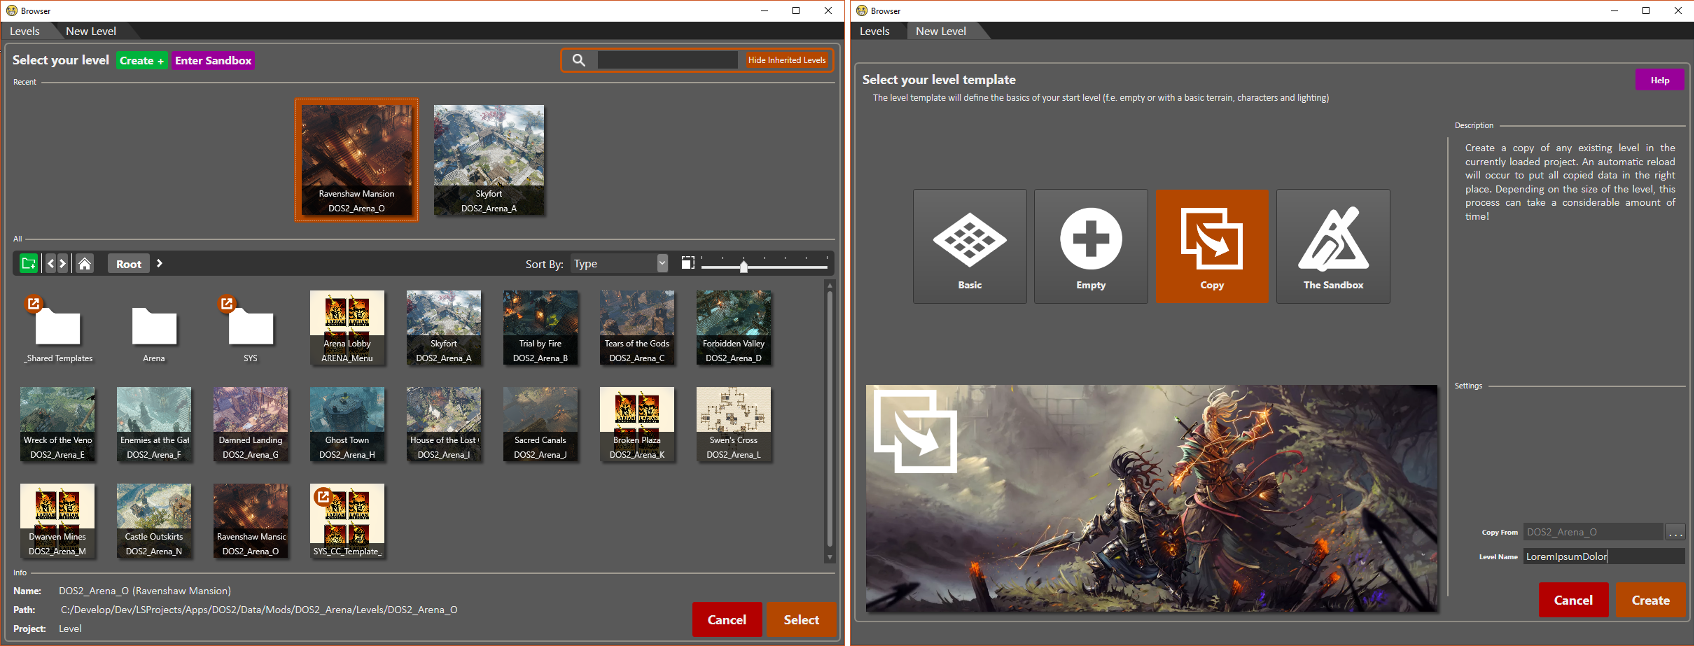
Levels and the Level Browser
Everything you create/change in the editor is stored in projects. To be able to share a mod with the world, you have to create and share an editor project you make for that mod.
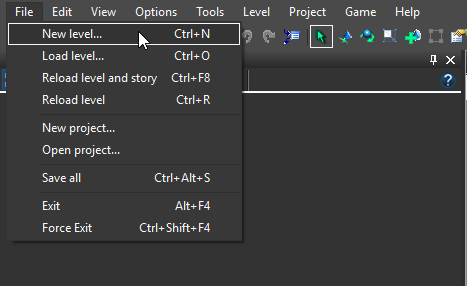
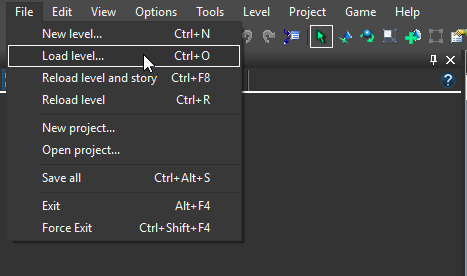
The level browser is used for loading and creating levels. Here you can see all existing level, as well as the different level templates you can create. The browser will show automatically when a project is loaded. You are not obliged to create a level. You might only want to make story changes, but it might still be useful to have a level for testing things in. Afterwards, you can change levels by creating or loading a different one, as explained in sections Creating a Level and Loading a Level.
| An explanation on the different buttons and functionalities of the level browser can be found here: Level browser |
Creating a Level
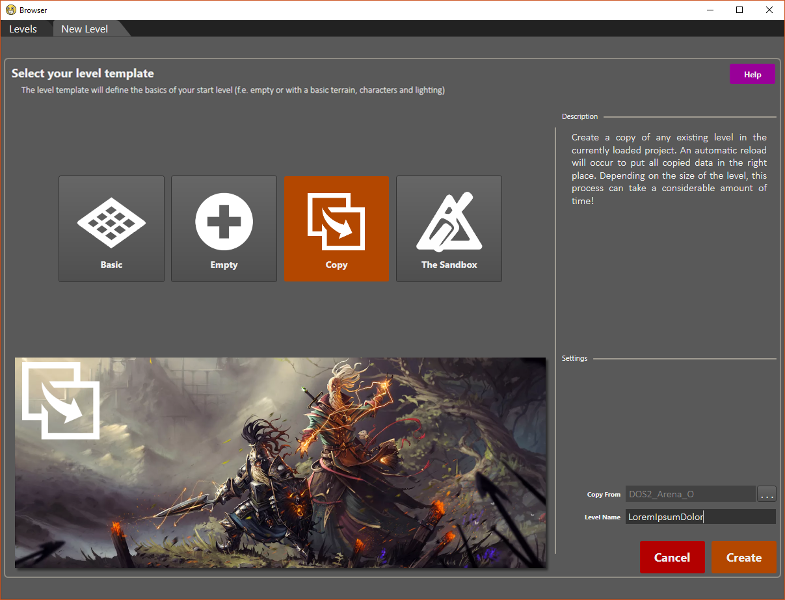
When creating a level, there are two things you have to choose: the level template and start-up settings.
Level Template: Start from nothing or start with something?
The following templates are available when creating a level:
Start from a blank canvas that is already playable. The Basic template already has a simple terrain, start points, a minimap,... so you can jump straight into game mode.
Picking this will create a completely empty level. You will have to setup a terrain, start points for characters,... to make the level playable.
Picking this will give you the extra settings option "Copy From". Here you select an already existing level as your template. When you create your level, it will be an exact copy of the level you selected in the "Copy From" option.
The sandbox is an already existing level. When selecting this, you will not create a new level, but load The Sandbox. In this level, no level changes are saved. The Sandbox is a full level, with a bit of everything ranging from friendly characters for talking to enemies for fighting. Use this when you want to test things out without having to create a level yourself.
| For more info on The Sandbox, go here: Sandbox |
Project Settings
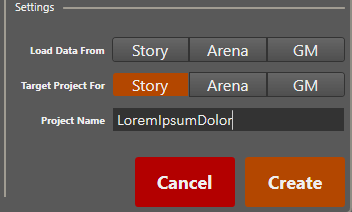
Before creating your project, you can setup a few things in advance. Firstly, the project name. This is the name your project has in the editor and in your files. You will be able to change the title before publishing your project to the world, so don't worry too much about choosing the perfect title. Secondly, "Load Data From". Our three game modes (Story, Arena and Game Master) are also projects we made in the editor ourselves. By selecting to load the data from any of them, you make your project dependent on the selected project(s). This will cause your project to always load all characters, items, story, etc. from there. You will need this if you want to make changes to existing content or if you just want to reuse our content to create completely new levels. Lastly, "Target Project For" defines in which game mode your published project will work. You might for example want to make balancing changes that only affect battles in arena mode. In that case you would only select Arena. Similarly, if you want to create a new sword for your game master campaign and don't want it to be available when playing the main story, you only select GM.
| More info on "dependent project" and how changes to existing content are handled can be found here: Modding internals |
Loading a Project
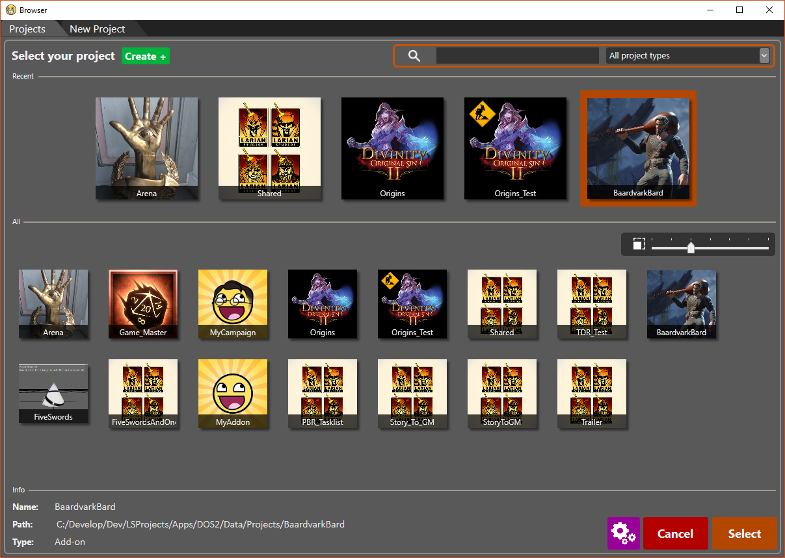
To load a project, simply open the browser and select the project you wish to load. To start loading, double-click the thumbnail, press the enter key, or press the Select button in the bottom-right corner of the browser.
